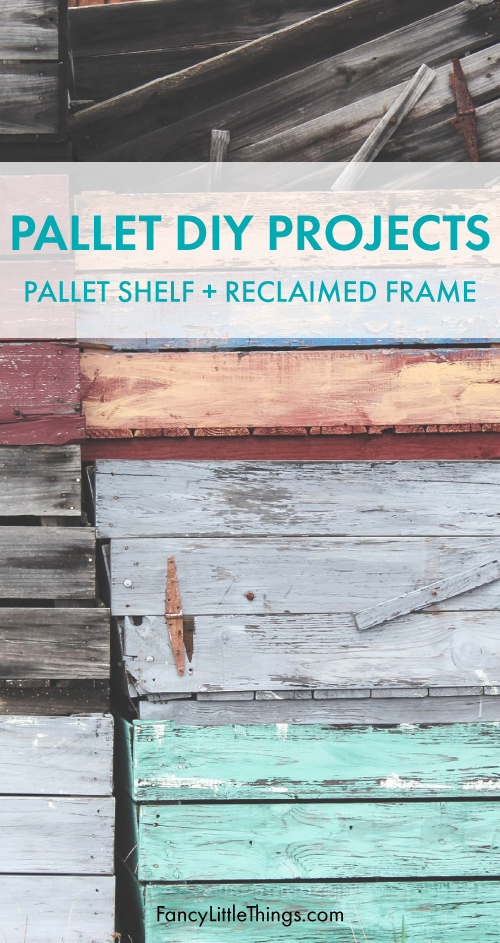
Today I am going to show you two versions of a wooden shelf using reclaimed pallet wood.
Version A
Strip your choice of wood from the pallet. For this version, I choose a top piece for the shelf and a cross support for the back.

Remove all nails/staples from the wood. If you desire to, use a stiff brush to knock any loose dirt off the wood. You could choose to use water as well, just let the wood thoroughly dry before building.
Check your pieces for cupping & twisting. You will want to try and have the concave side of any cupping face the wall.
Measure your wood to size and cut. If you aren’t cutting both ends, think about how your pieces will lay so the fresh cut ends are on the same side. This will allow you to hide your cuts in a corner or make them less visible. A chop saw makes life a lot easier, though a hand saw is just fine.
Dry fit your pieces. If you are satisfied, generously glue the edge of the backing and clamp the shelf on. Using a drill bit slightly smaller than your screw size, drill a hole through the shelf into the backing. This is to help prevent the wood from splitting due to its dryness. Then screw together for extra strength, screw the two pieces together. Let sit clamped at a minimum overnight, 24 hours is recommended for greatest strength.
 {this showcases my little trinkets i have saved from my parents & darling wall art given to me by my dear friend Heidi. can’t think of a better place to store all of my favorite things — in the kitchen where i tend to spend a lot of my time! ~Aimee}
How you attach your shelf to the wall will be up to you. You can screw through the backing or use picture hangers. If screwing through the back, pre drill a hole through slightly smaller than the screw size. This again is to help prevent splitting.
Hang & enjoy.

————————-
Version B
Strip your selected pieces from the pallets. Length and width are all up to you.
Remove all nails/staples from the wood. If you desire to, use a stiff brush to knock any loose dirt off the wood. You could choose to use water as well, just let the wood thoroughly dry before building.
Check your pieces for cupping & twisting. You will want to try and have the concave side of any cupping face the wall.
Spray paint your brackets and screws. For this shelf, I chose a flat black to blend in with the shelf. Any type of “L” bracket will work and any color paint. It’s All up to you.
While your brackets dry, measure, cut and dry fit your wood together. Mark the location of the shelf against the back lightly with a pencil. This will help you place your brackets correctly.
Once your brackets are dry, space them to your liking and screw in place. If any paint comes off the screw you can touch up. Take a piece of cardboard, spray a little pool of paint on it and use a Q-tip to touch up the screw head.

Repeat the process to attach the shelf to the brackets. If you have clamps, I would recommend using them to hold the shelf tight against the back. The brackets will hold it in place when screwed in, no need for glue.
How you attach your shelf to the wall will be up to you. You can screw through the backing or use picture hangers. If screwing through the back, pre drill a hole through slightly smaller than the screw size. This is to help prevent splitting.
Hang & enjoy.
——————
so, what do you think ladies? ready to take a part some pallets for some simple, creative & inexpensive pallets? i’ll be taking full photos of the kitchen in the morning to show off all three shelves better. i am in LOVE with the end result and can’t wait to decide what else we’re going to build with the pallet pieces left… perhaps this?

here’s a reclaimed wooden frame that my dad made for me a few years ago using some twisted fence pieces from a walk along the Long Island, Amagansett beach area.

Enjoy!
© 2012 – 2019, Aimee. All rights reserved. Love it? Please share, pin, tweet or email but do not use my work without permission.