Hello Fancy Little Things readers! I’m excited to take part in the back-to-school celebration over here at FLT. Back-to-school is still an unfortunate reality for me. I just started my junior year over here at Texas A&M University (Whoop!). I also blog over at Sweet Verbena. I hope you’ll stop by sometime if you get the chance!
Today I’ll show you how to make this sweet little pencil pouch. A great back-to-school gift for your little one or in my case for myself!

Materials:
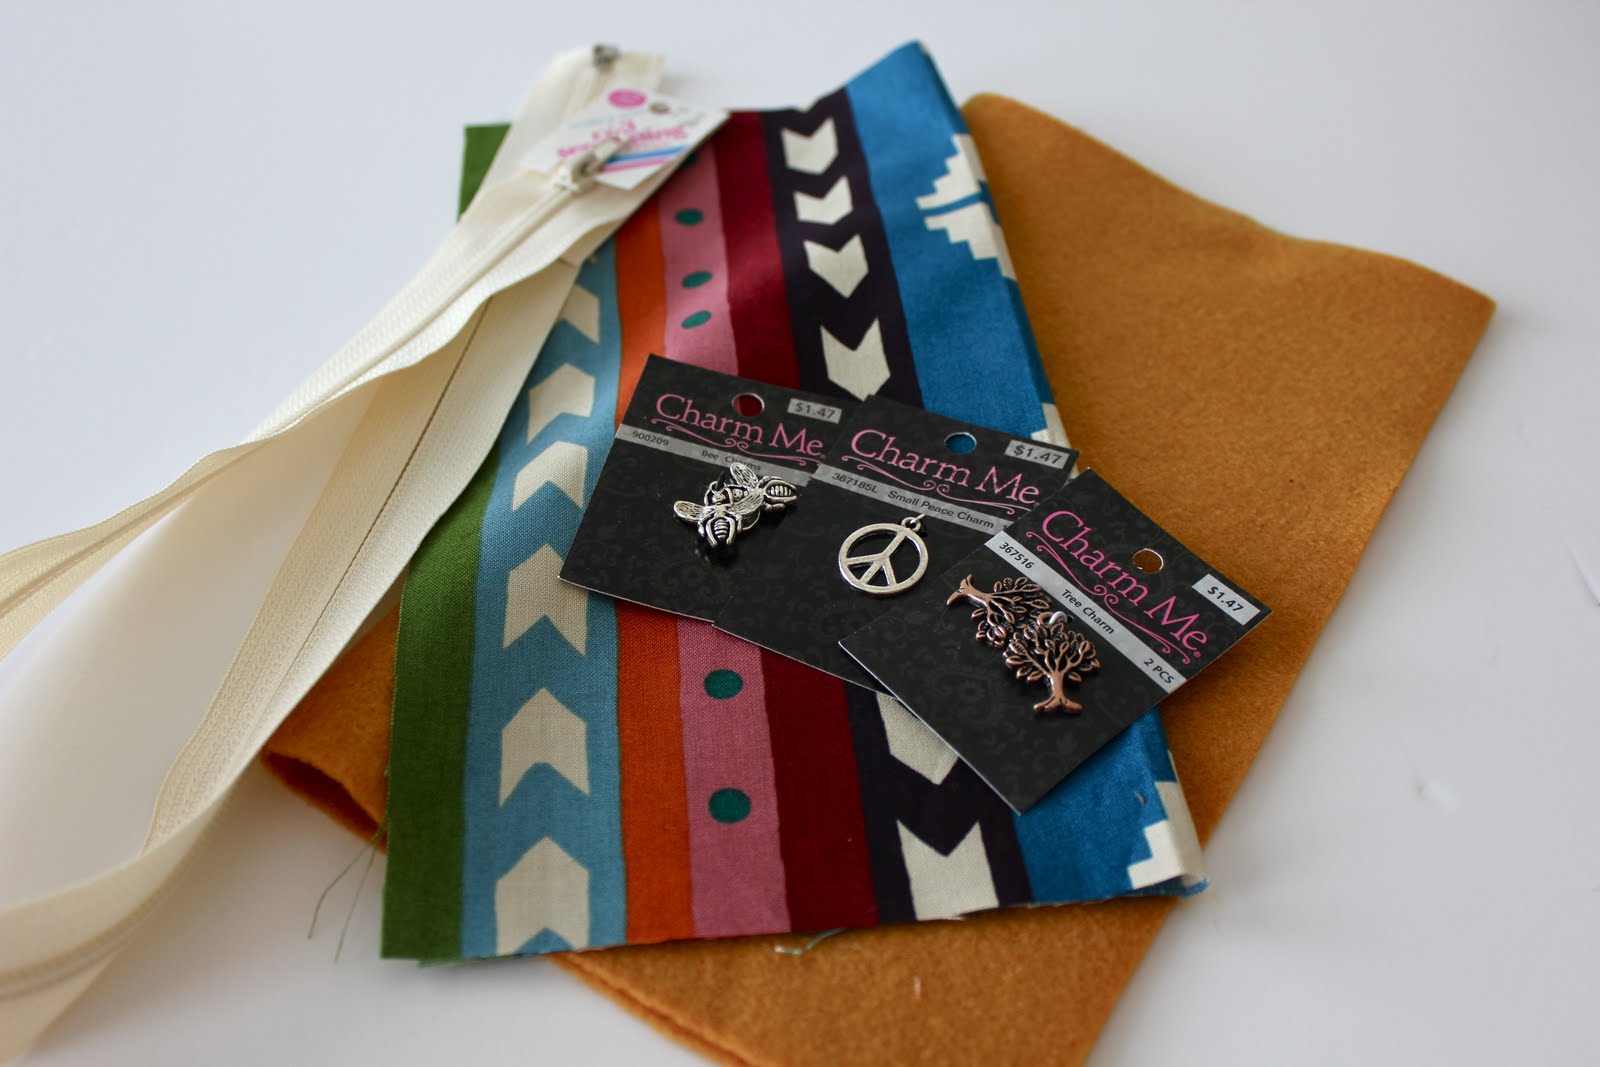
Scrap Fabric
Zipper
(10″ or longer)
One sheet of Felt
(9″ x 12″)
Charms
(Found in the beading section of Hobby Lobby)
Tutorial:
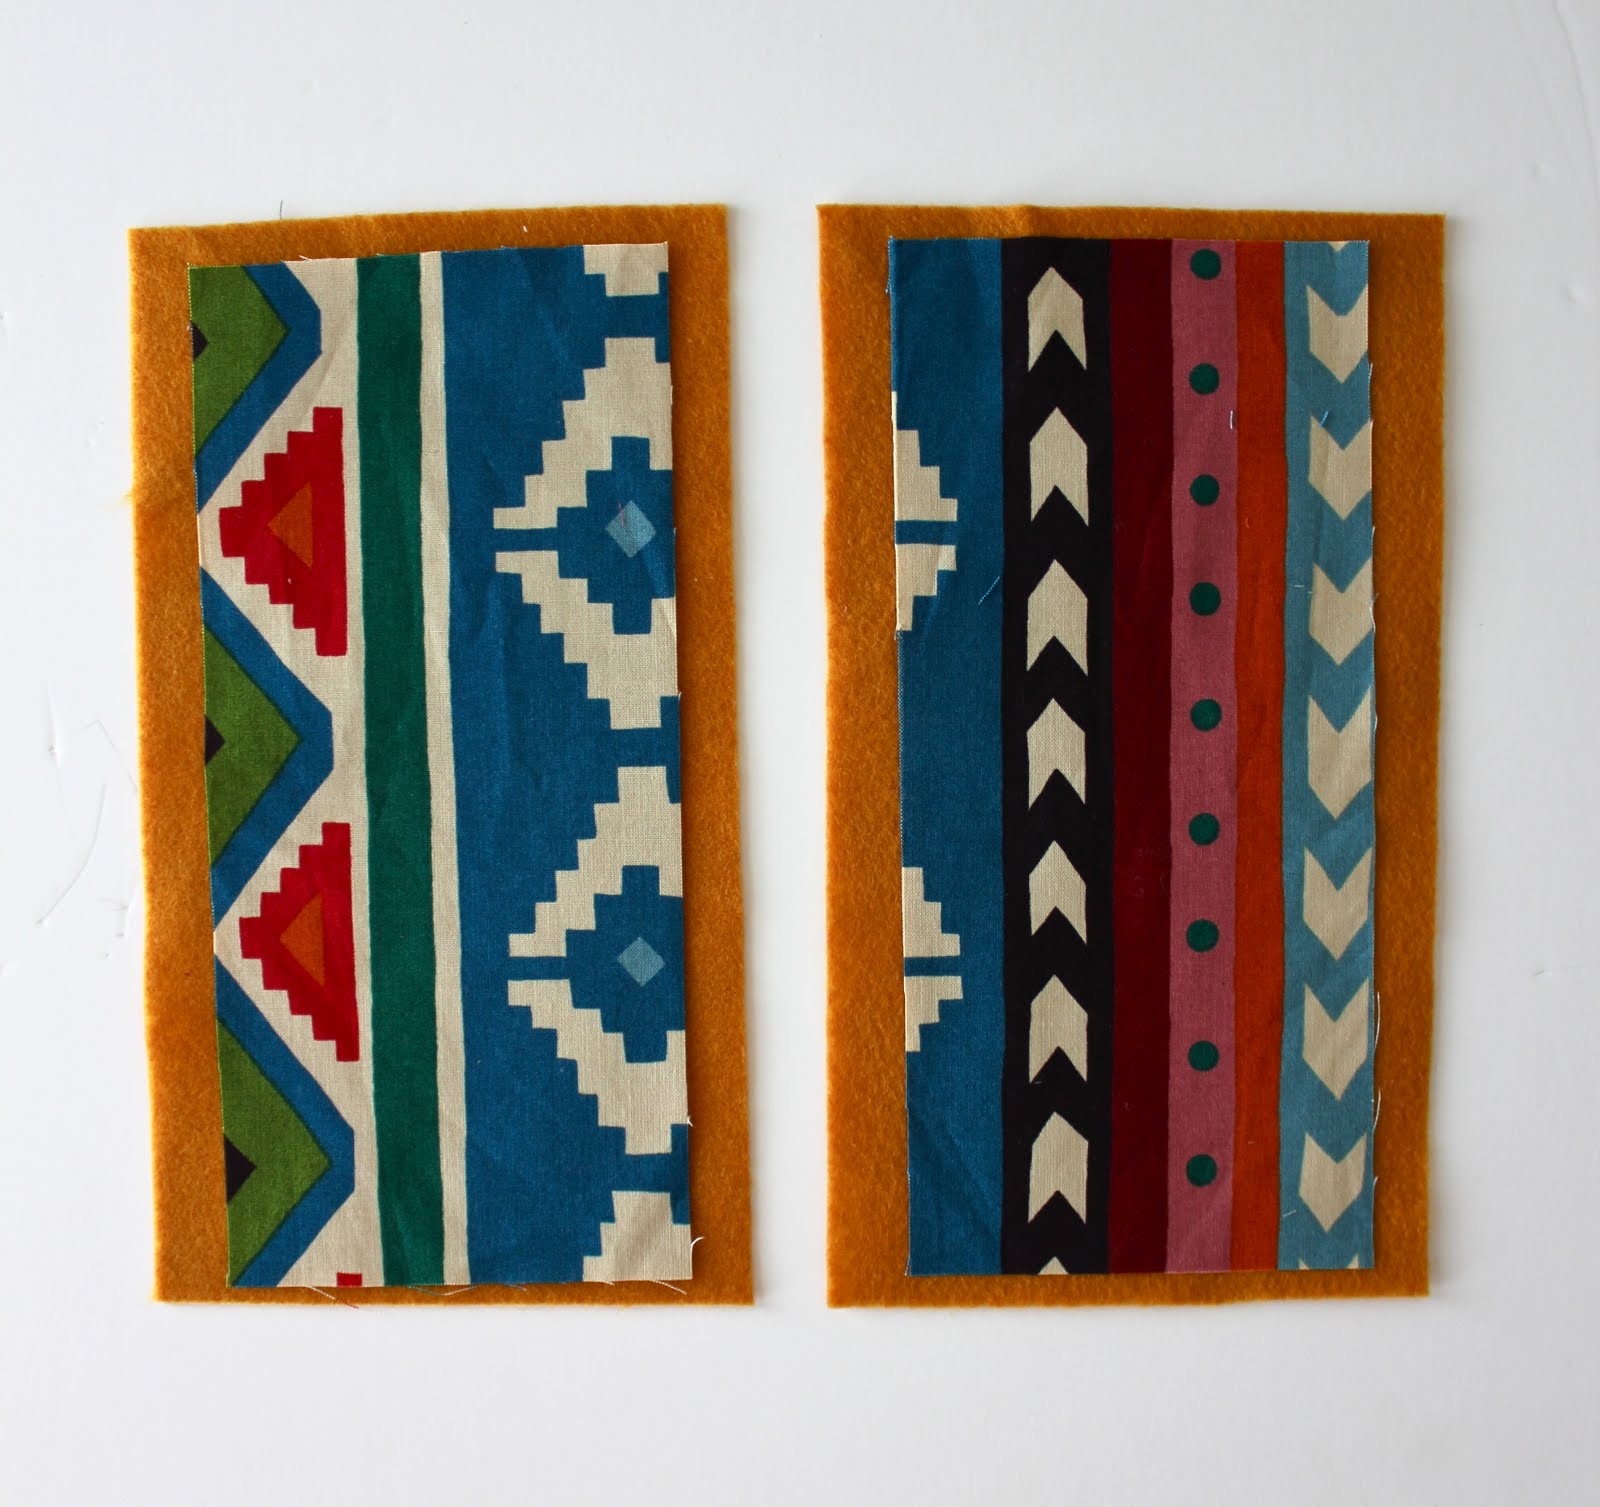
Cut your fabric in to two 9.5″ x 3.5″ rectangles.

Cut your sheet of felt in half and lay a section of fabric on each.
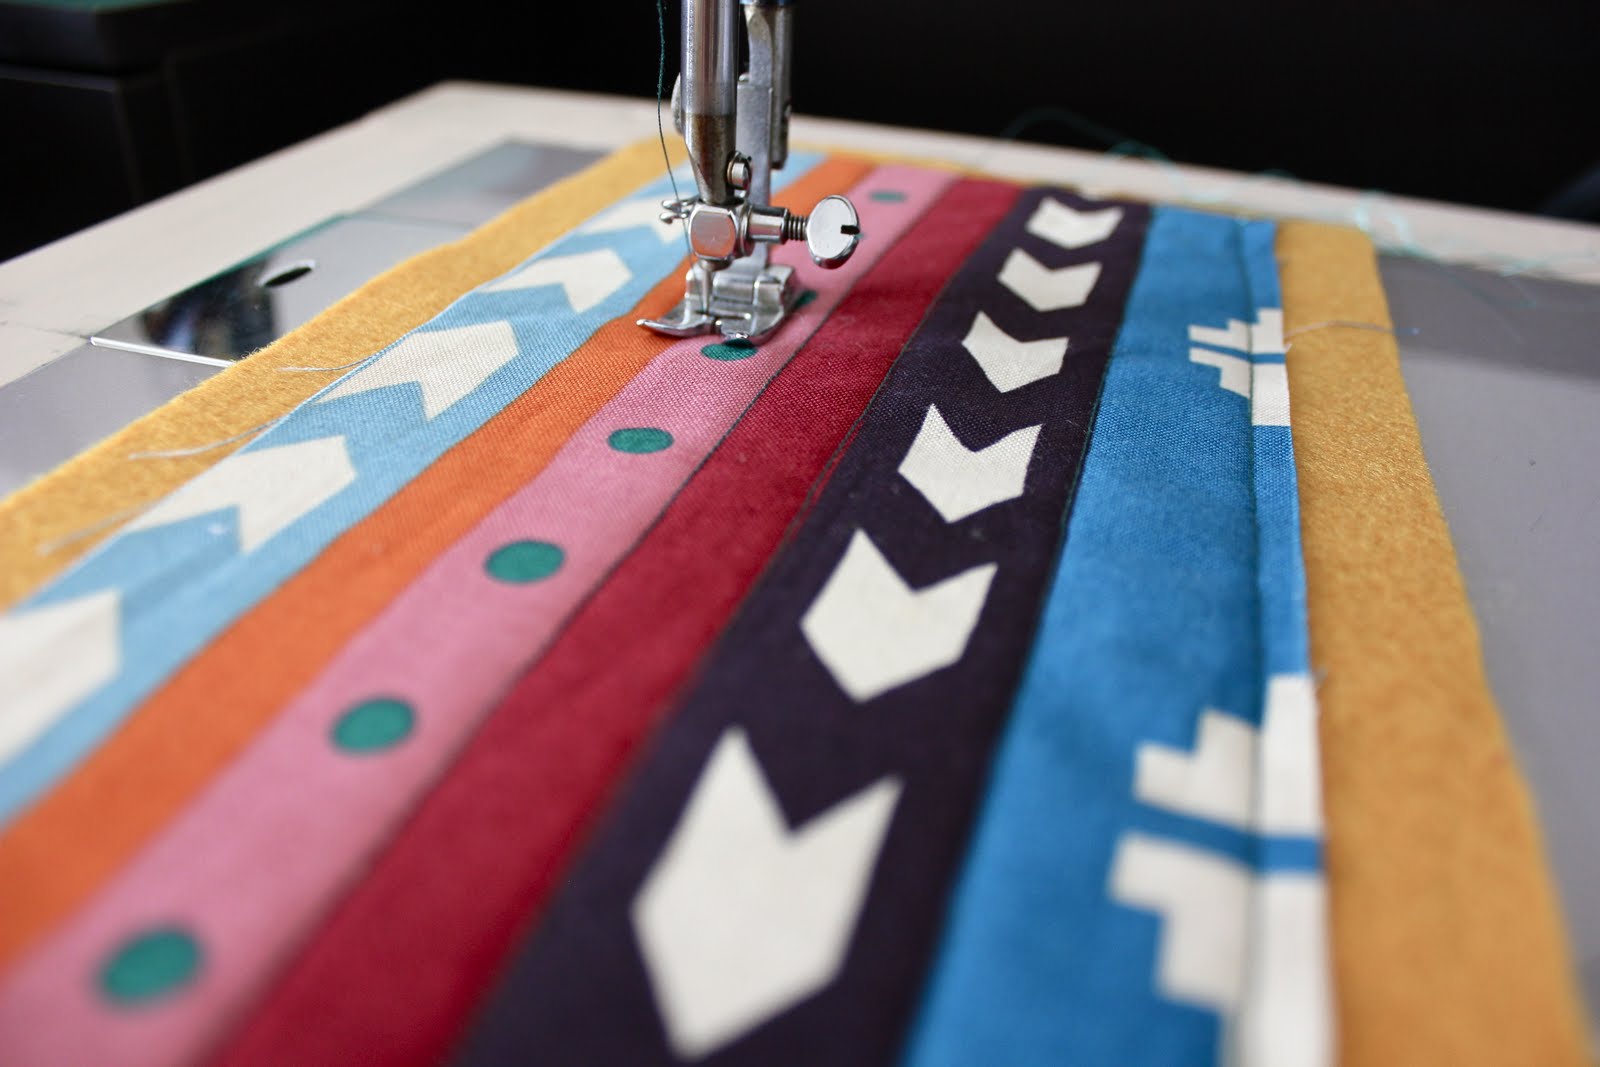
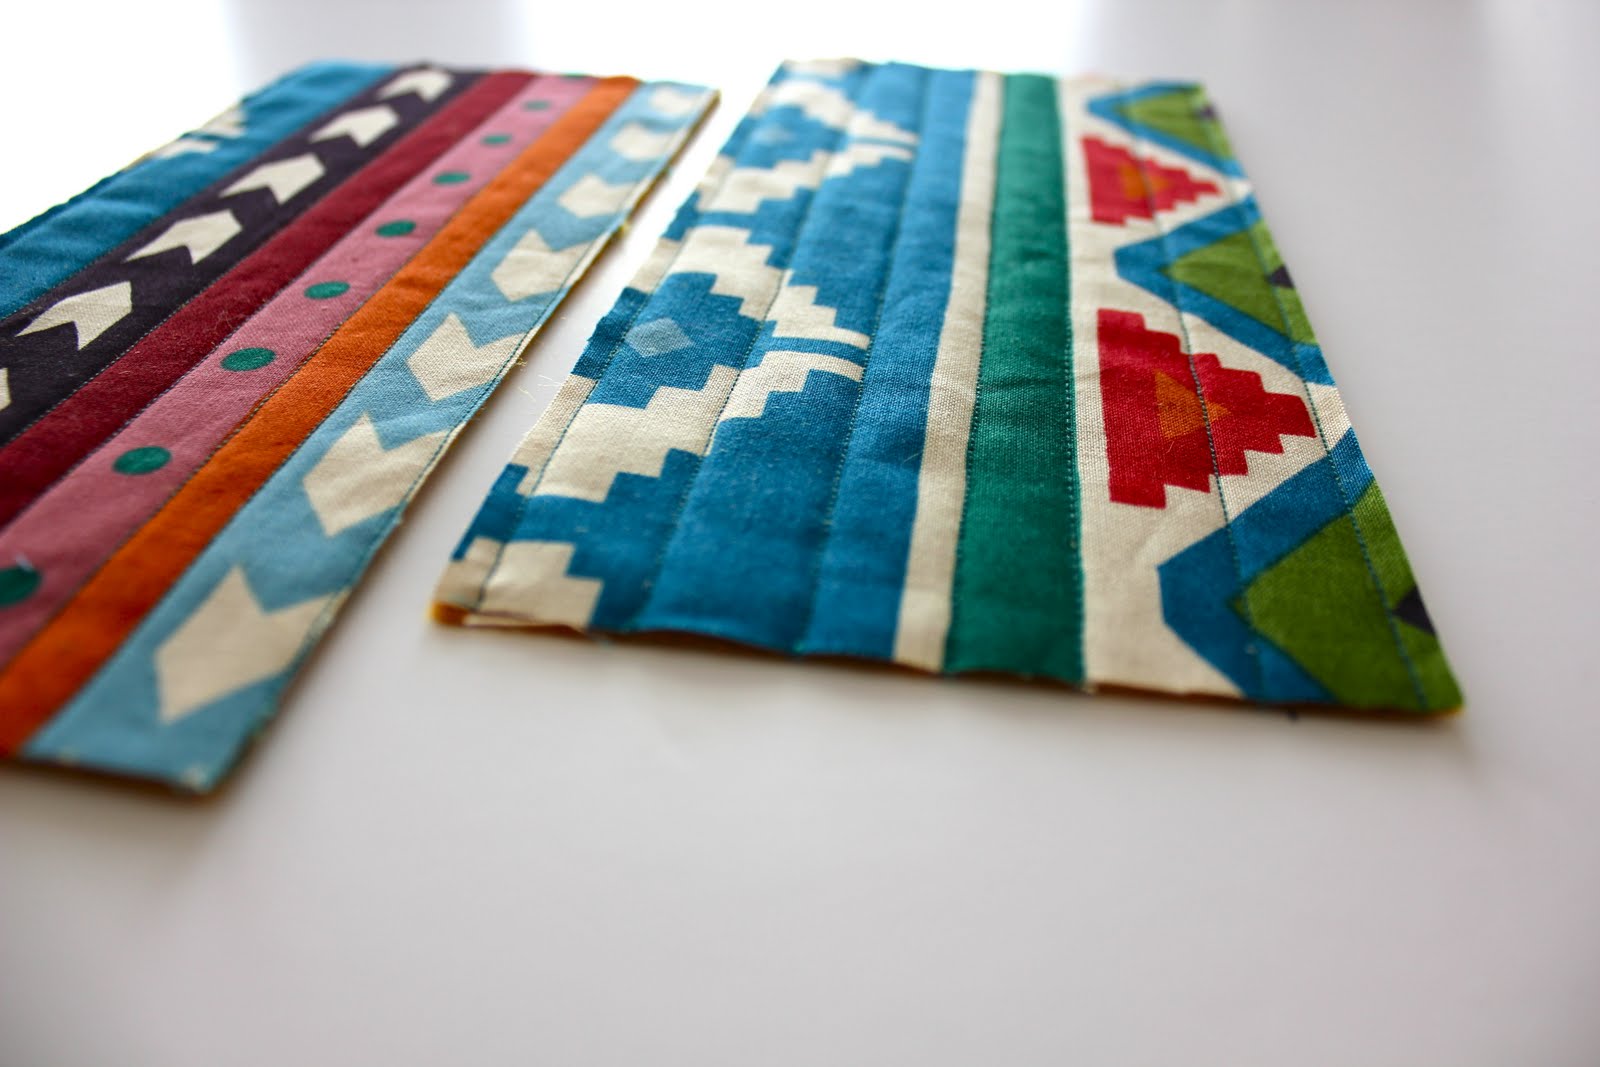
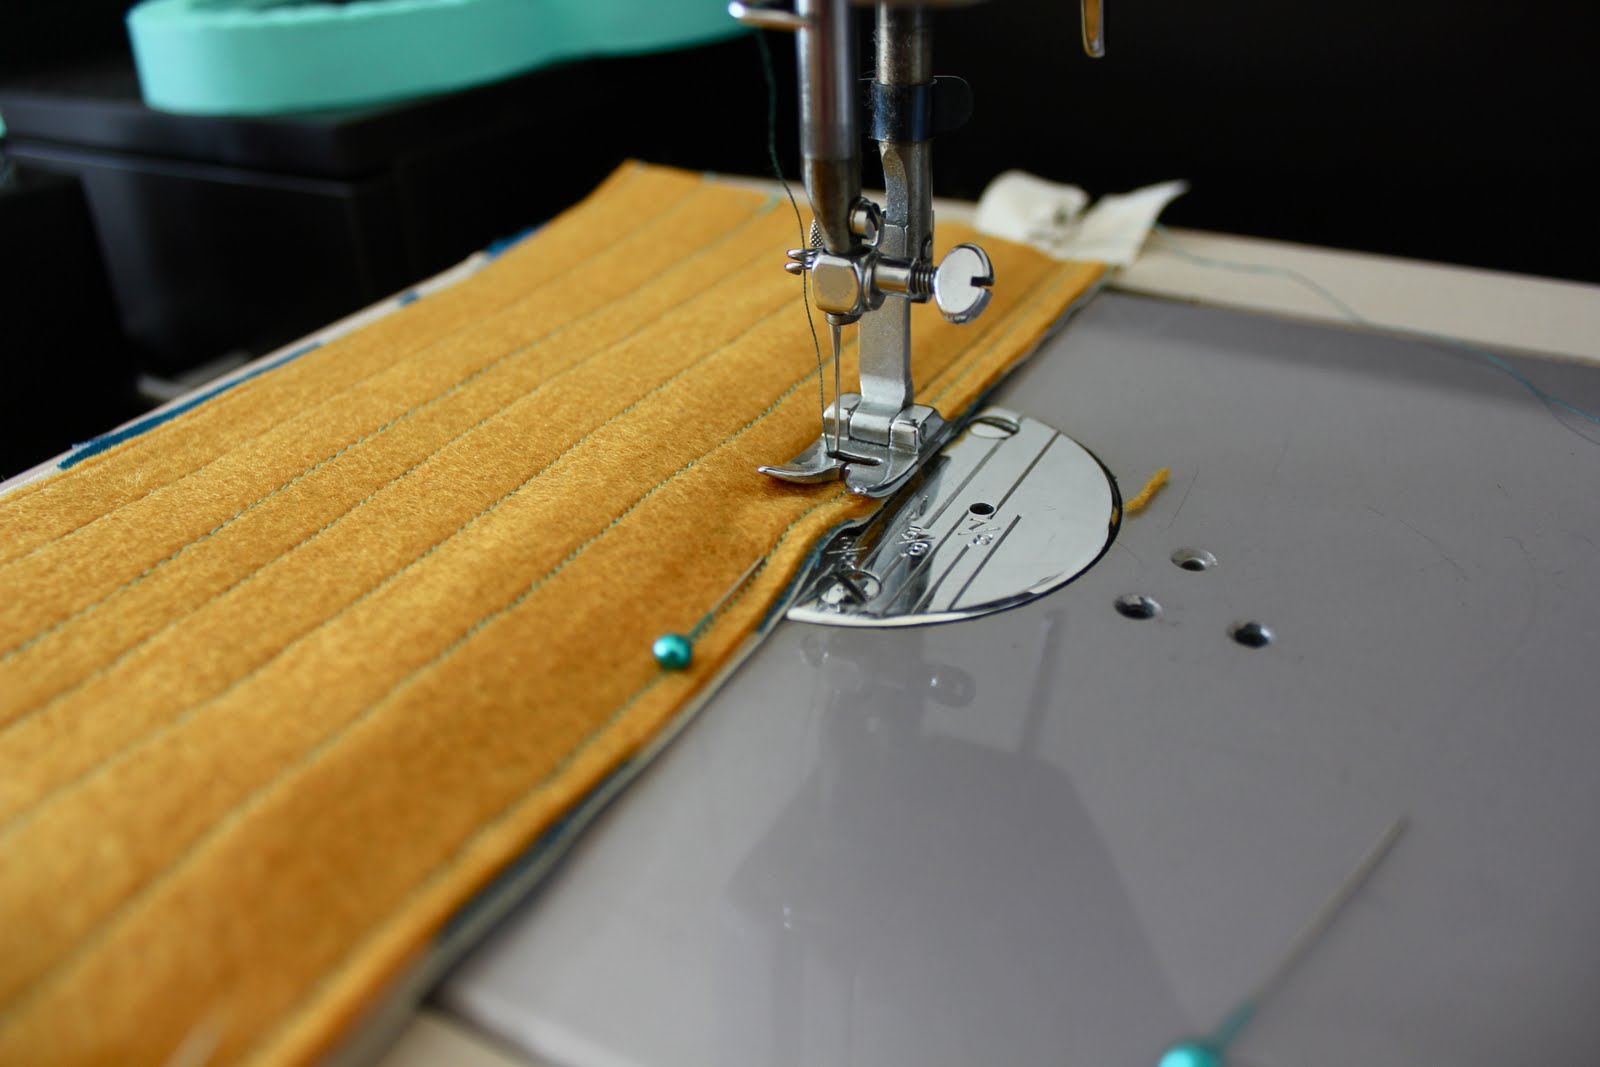
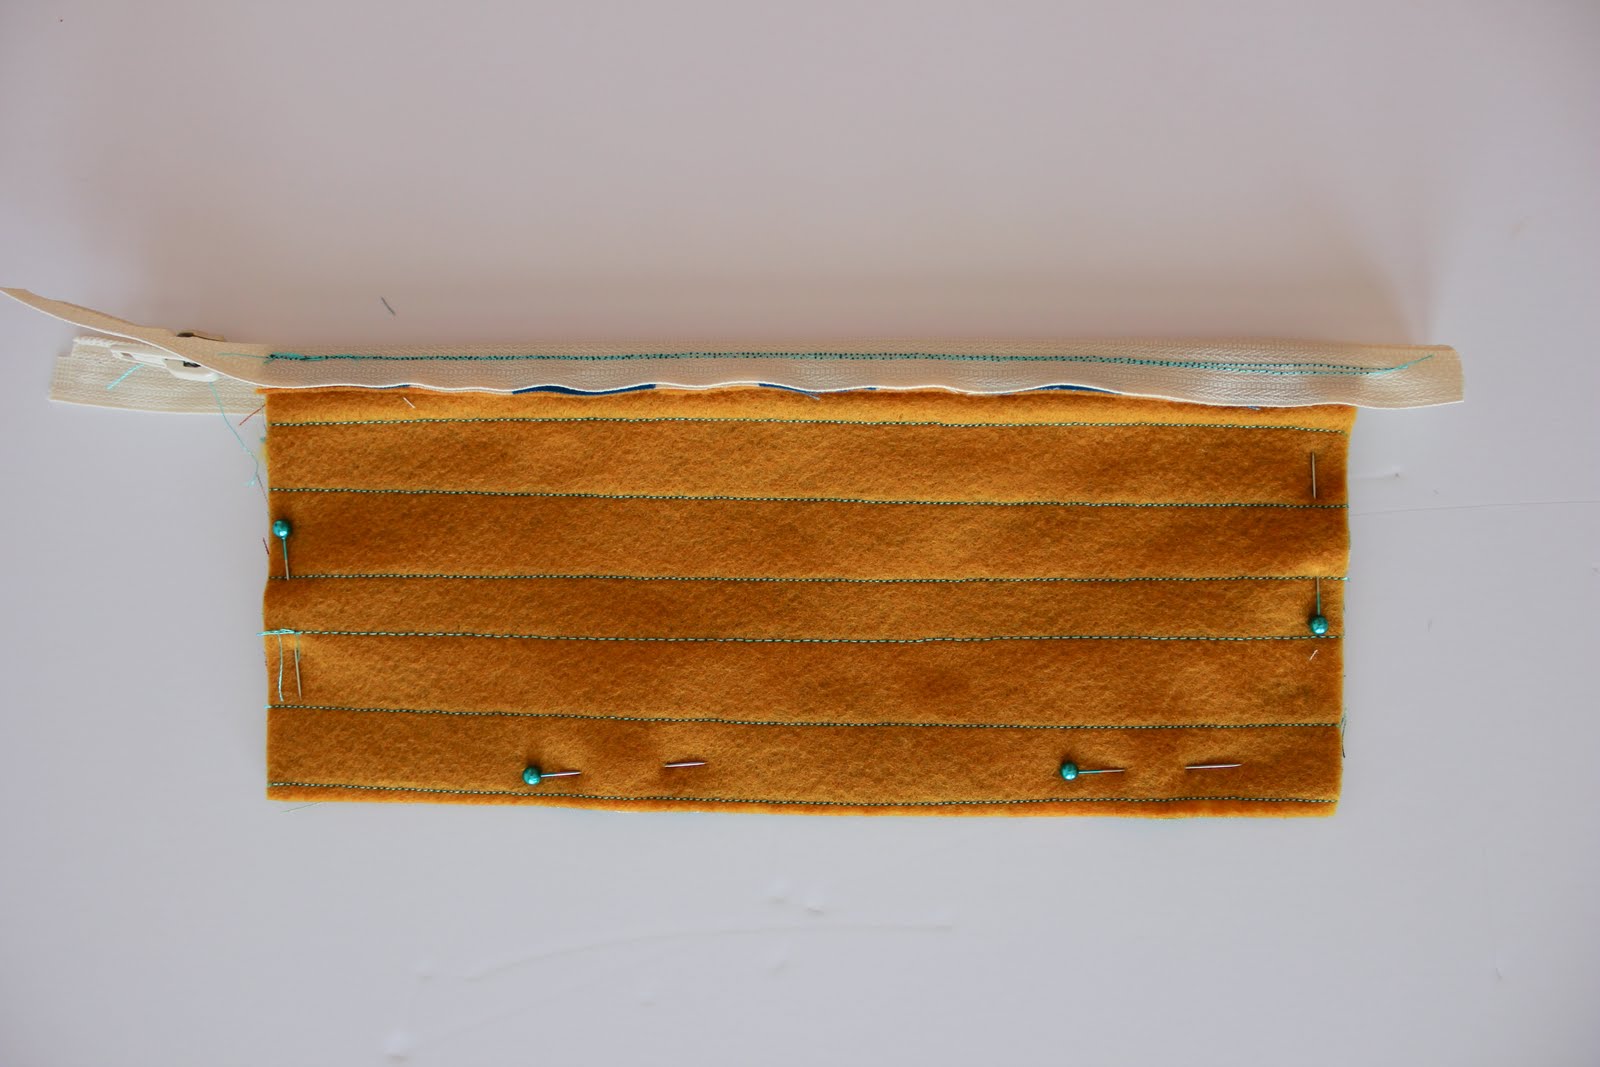
Now for some quilting fun! Sew some straight lines (or another design) down the length of your fabric.
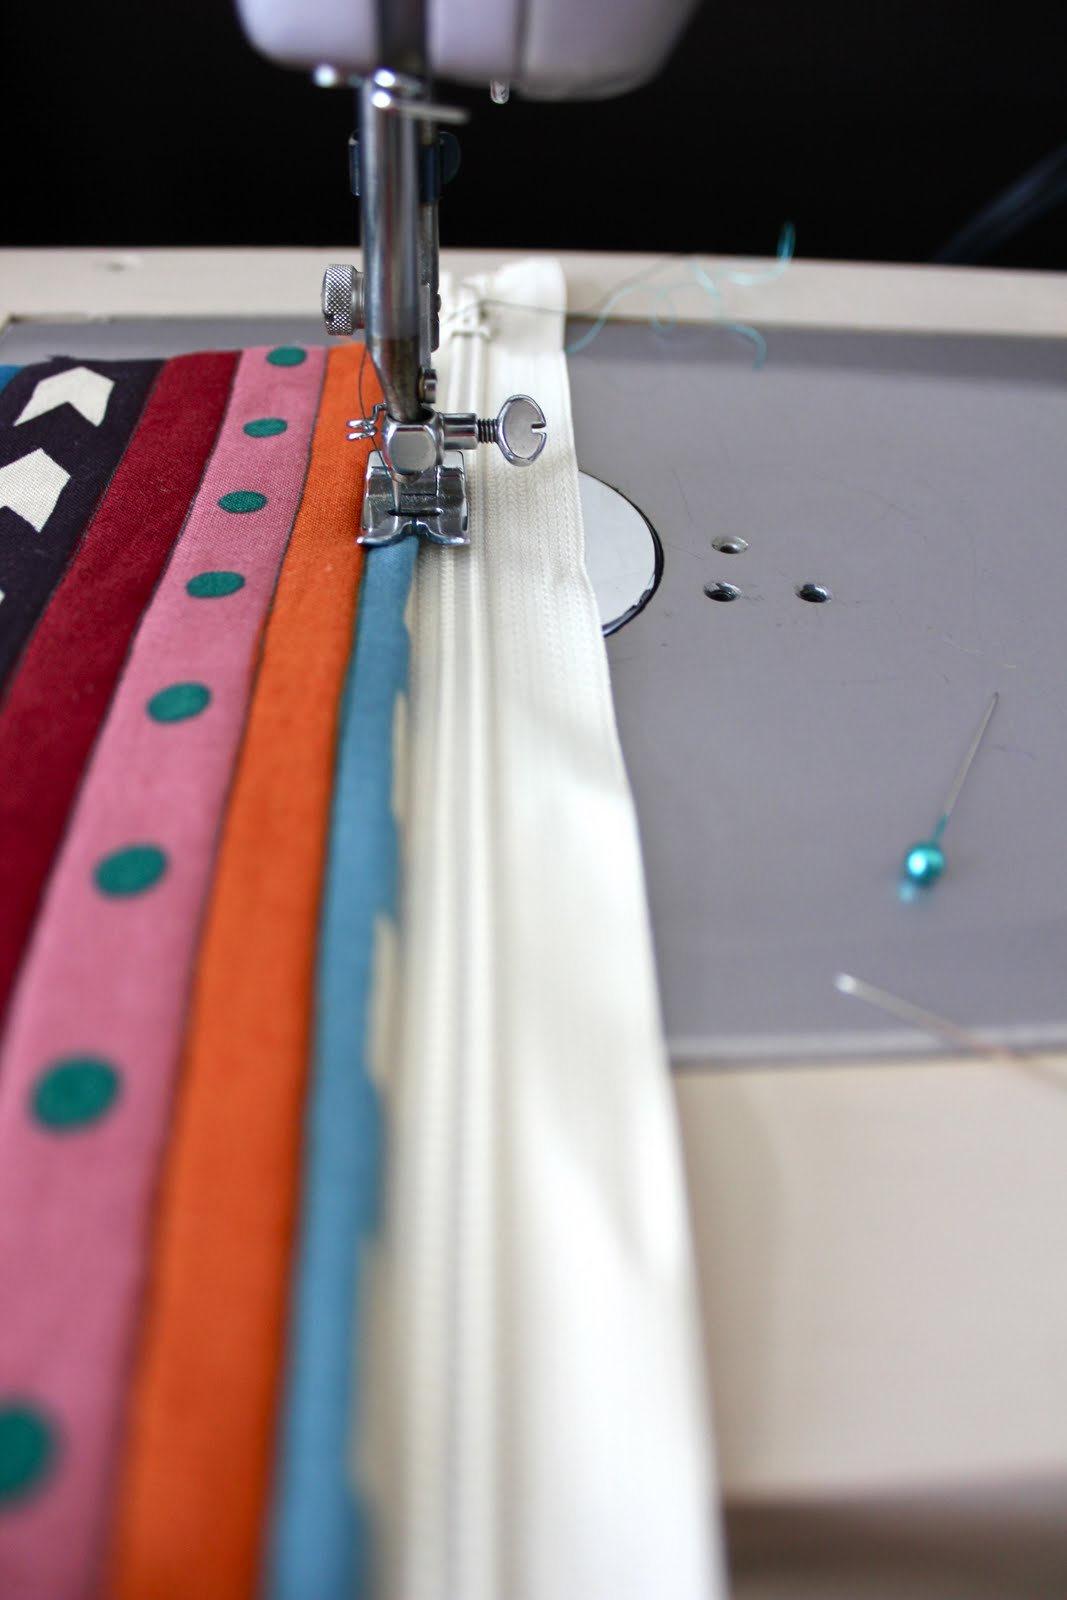
Now for the zipper. Don’t let this part scare you! You don’t need a special zipper foot. Just your regular old presser foot will do.
Lay one section of fabric down right side up. Lay the zipper face down and pin down as shown:

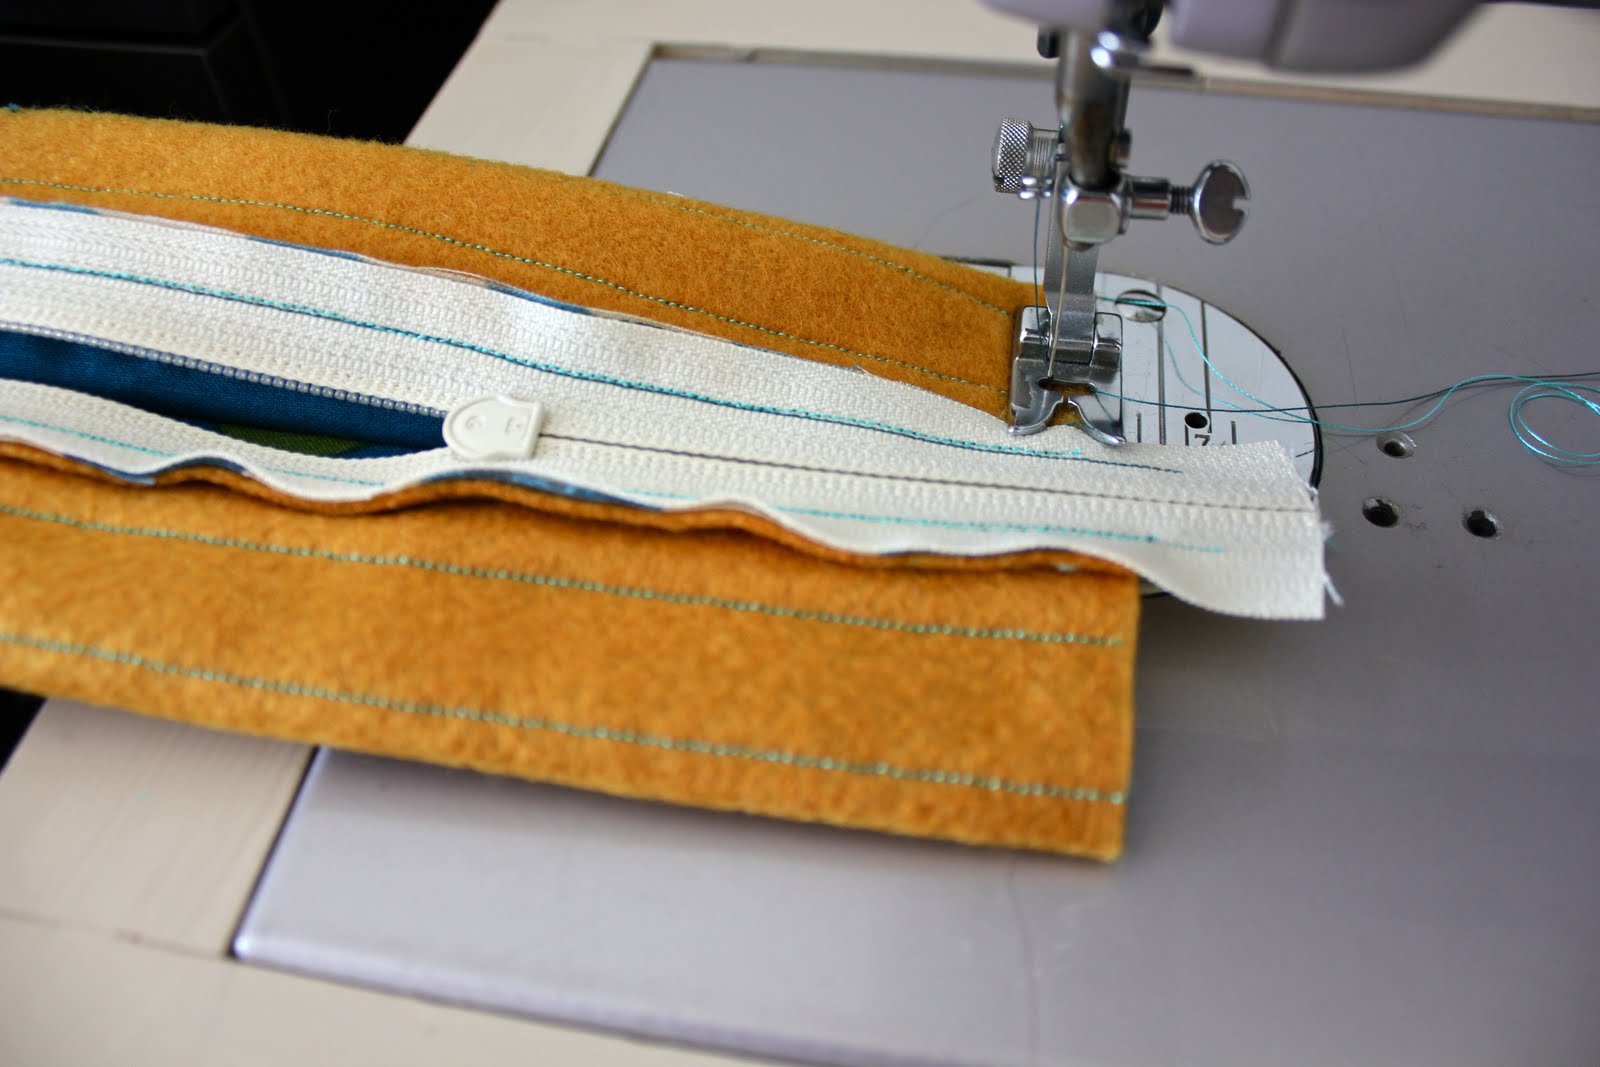
Sew with about a 1/4″ inseam.

Flip the zipper over and sew a quick top stitch if you like.
Lay this piece right side up
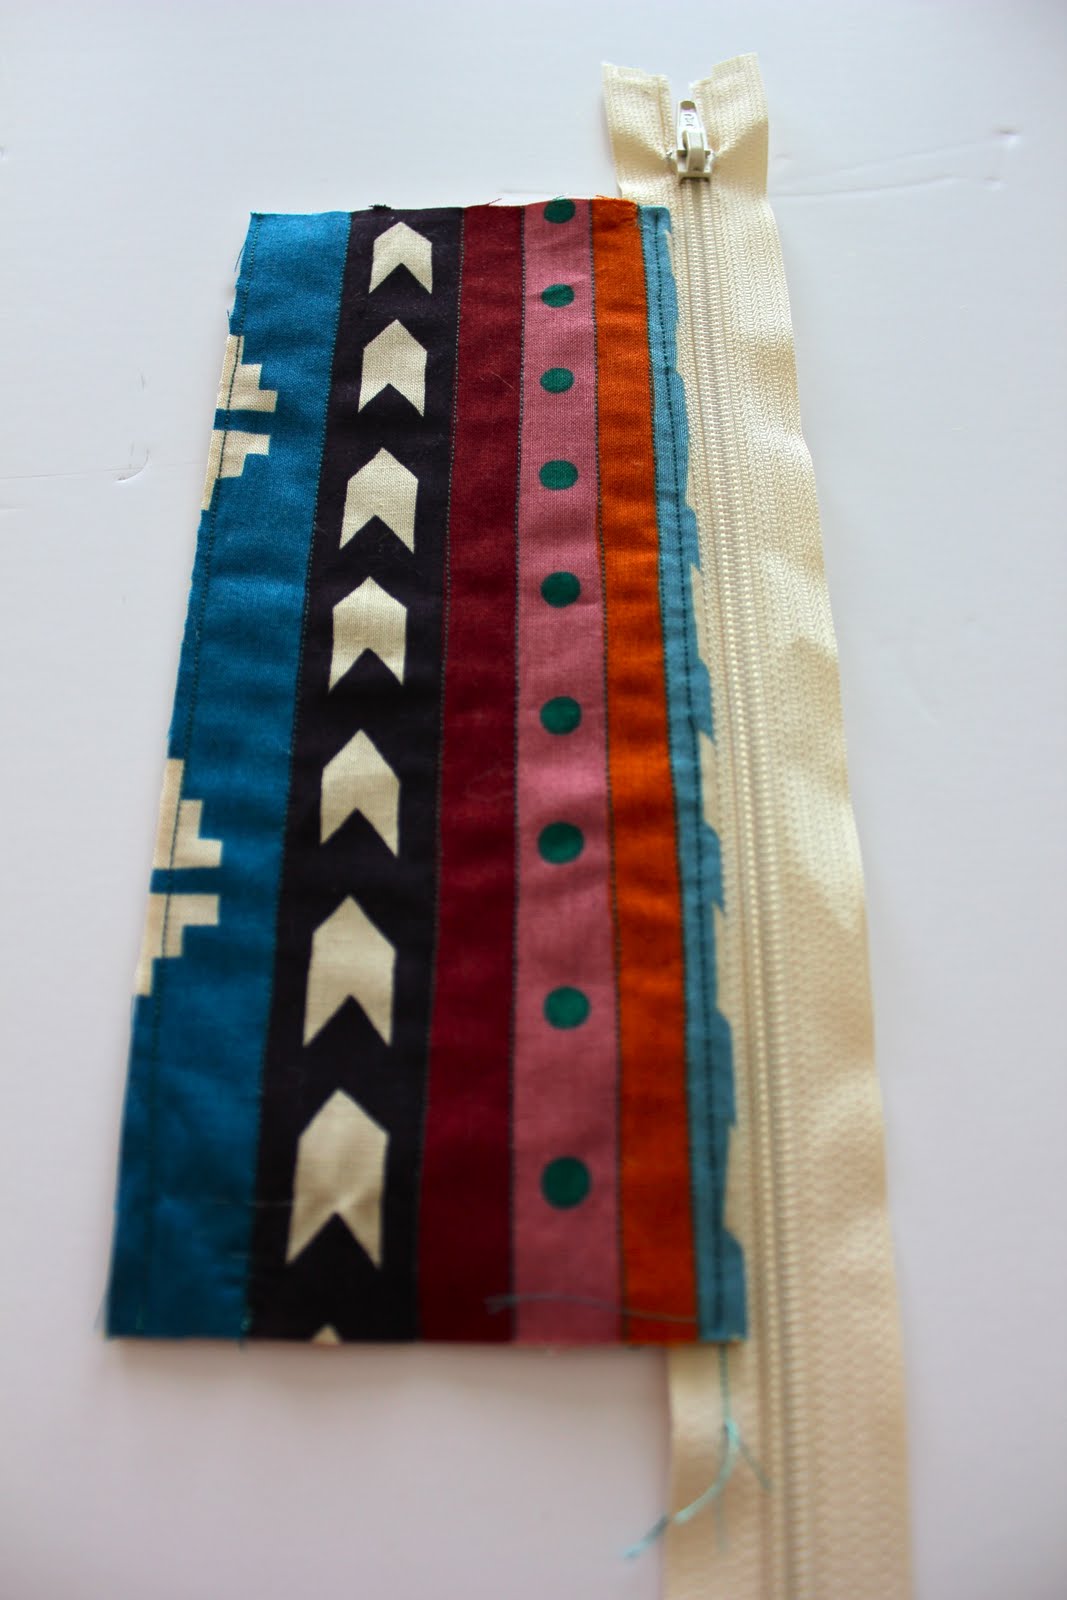
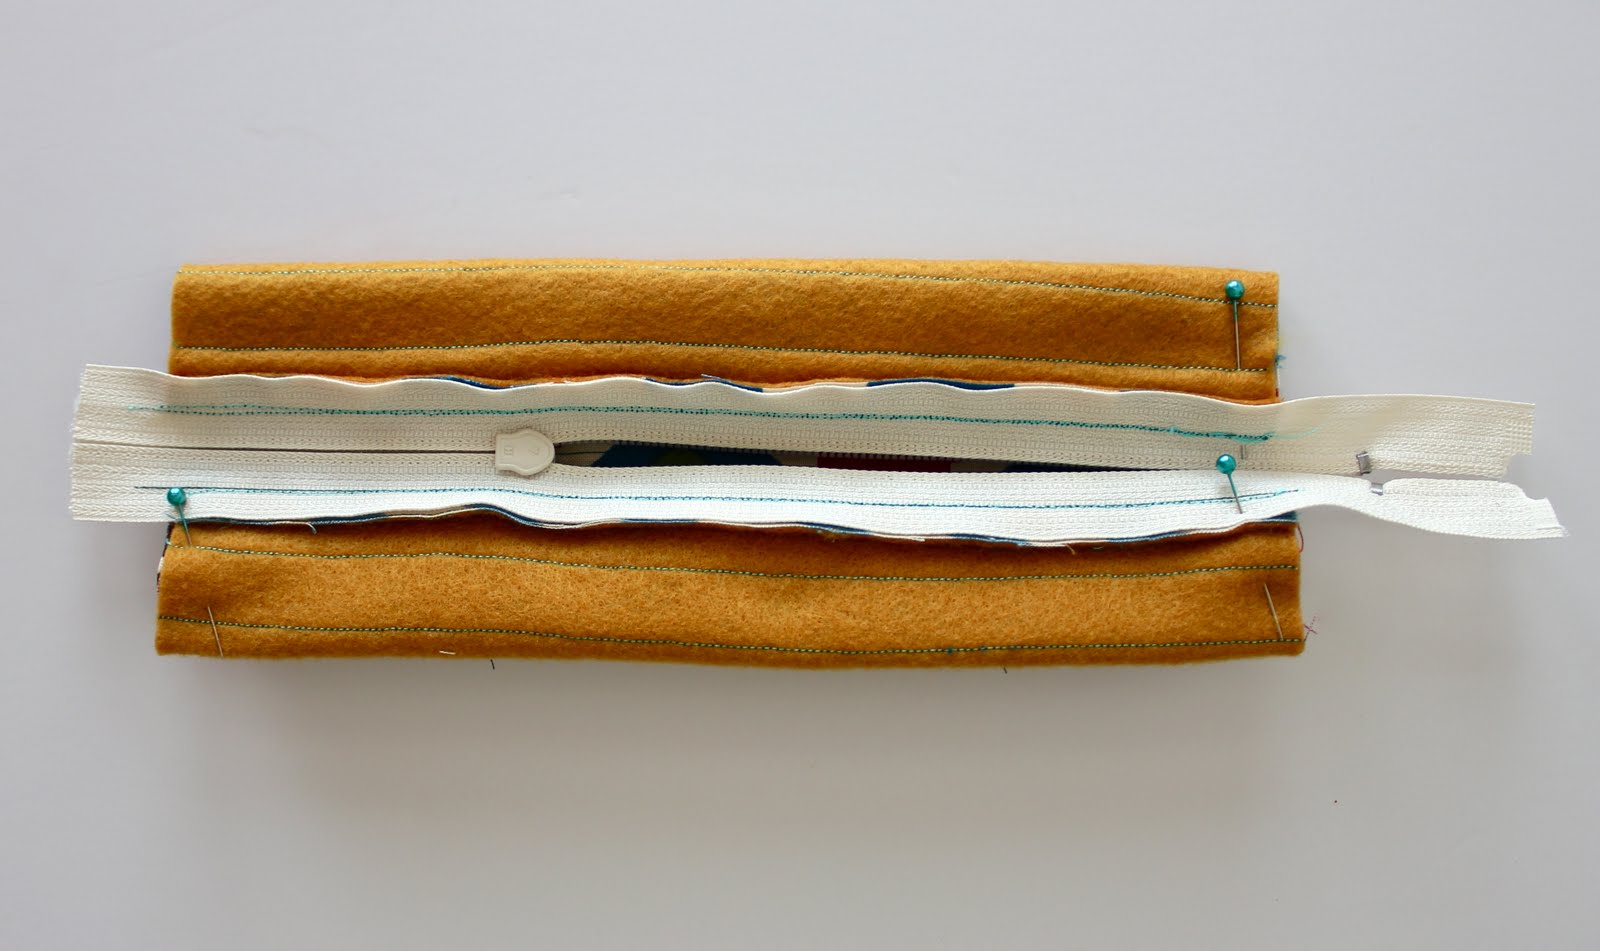
and then lay down the other section of fabric face down and pin as shown:

Stitch with a 1/4 inch inseam and again finish with a top stitch.
Pin the fabric right sides together
and sew straight across the bottom.

Fold the pouch so that the seam you just sewed is just below the line of the zipper.
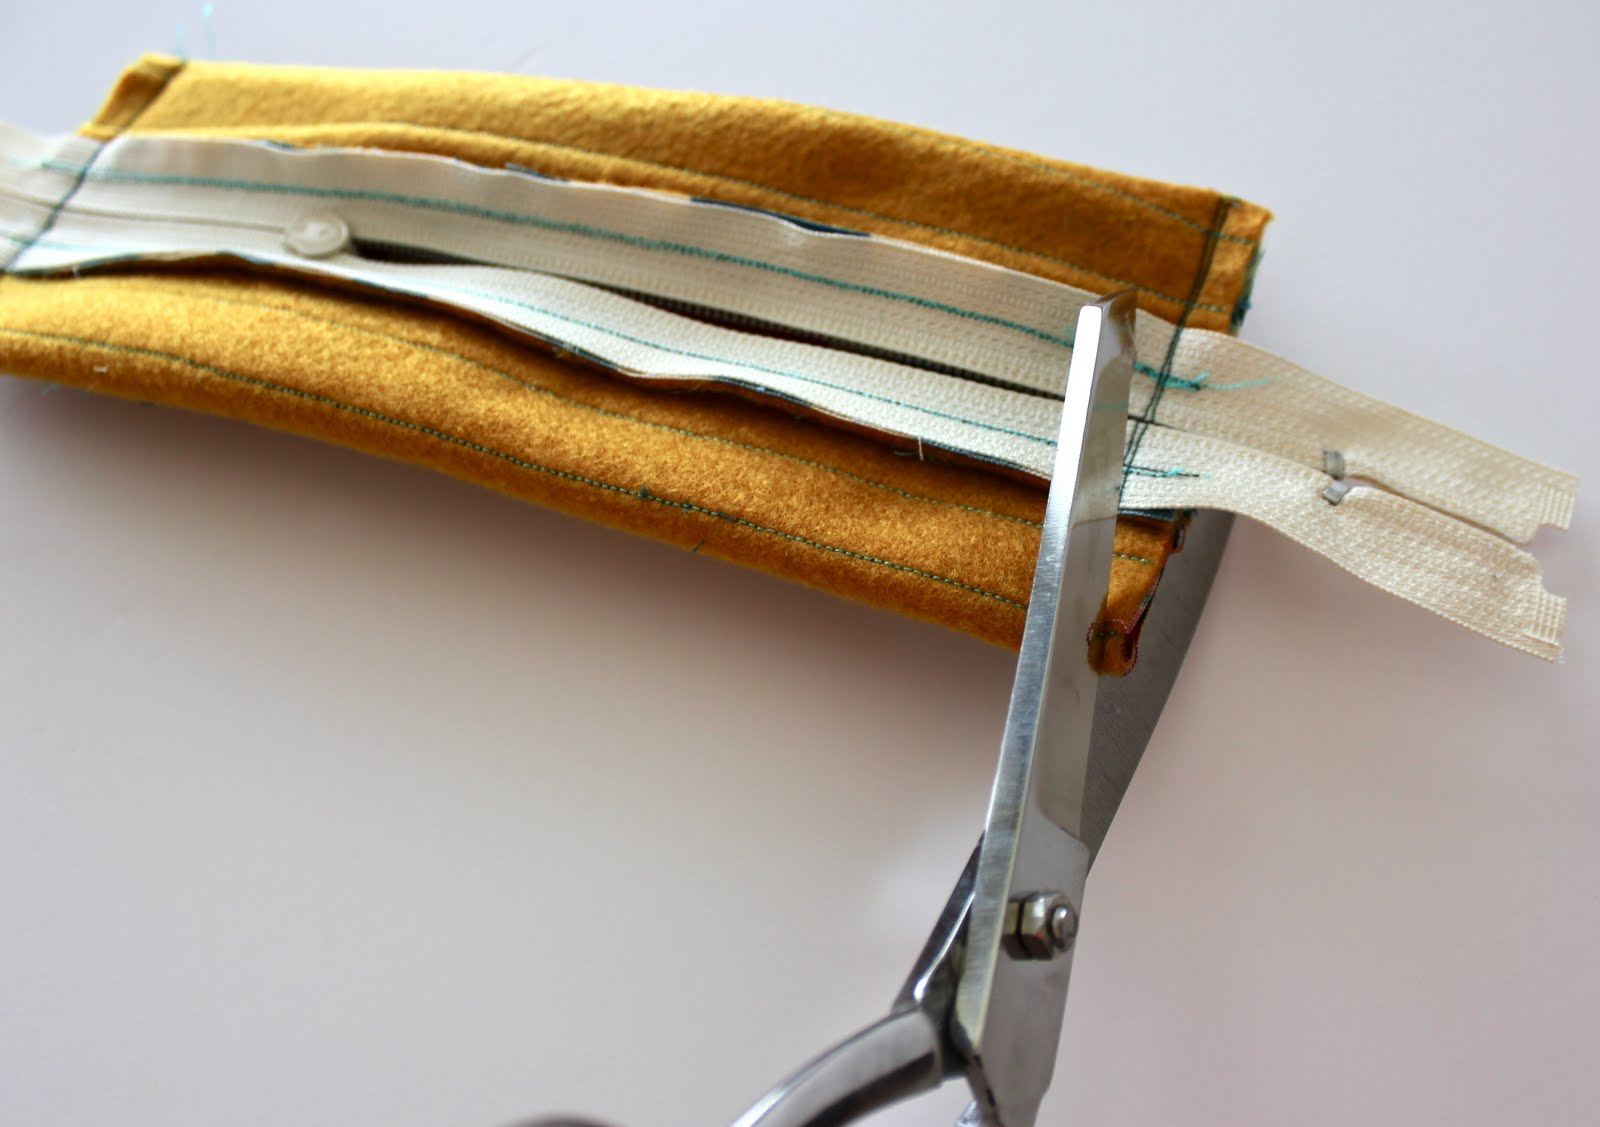
Sew along the short ends of the pouch.
Cut off any extra material.

Turn it right side out, use an iron to help shape it, and you’re all done!
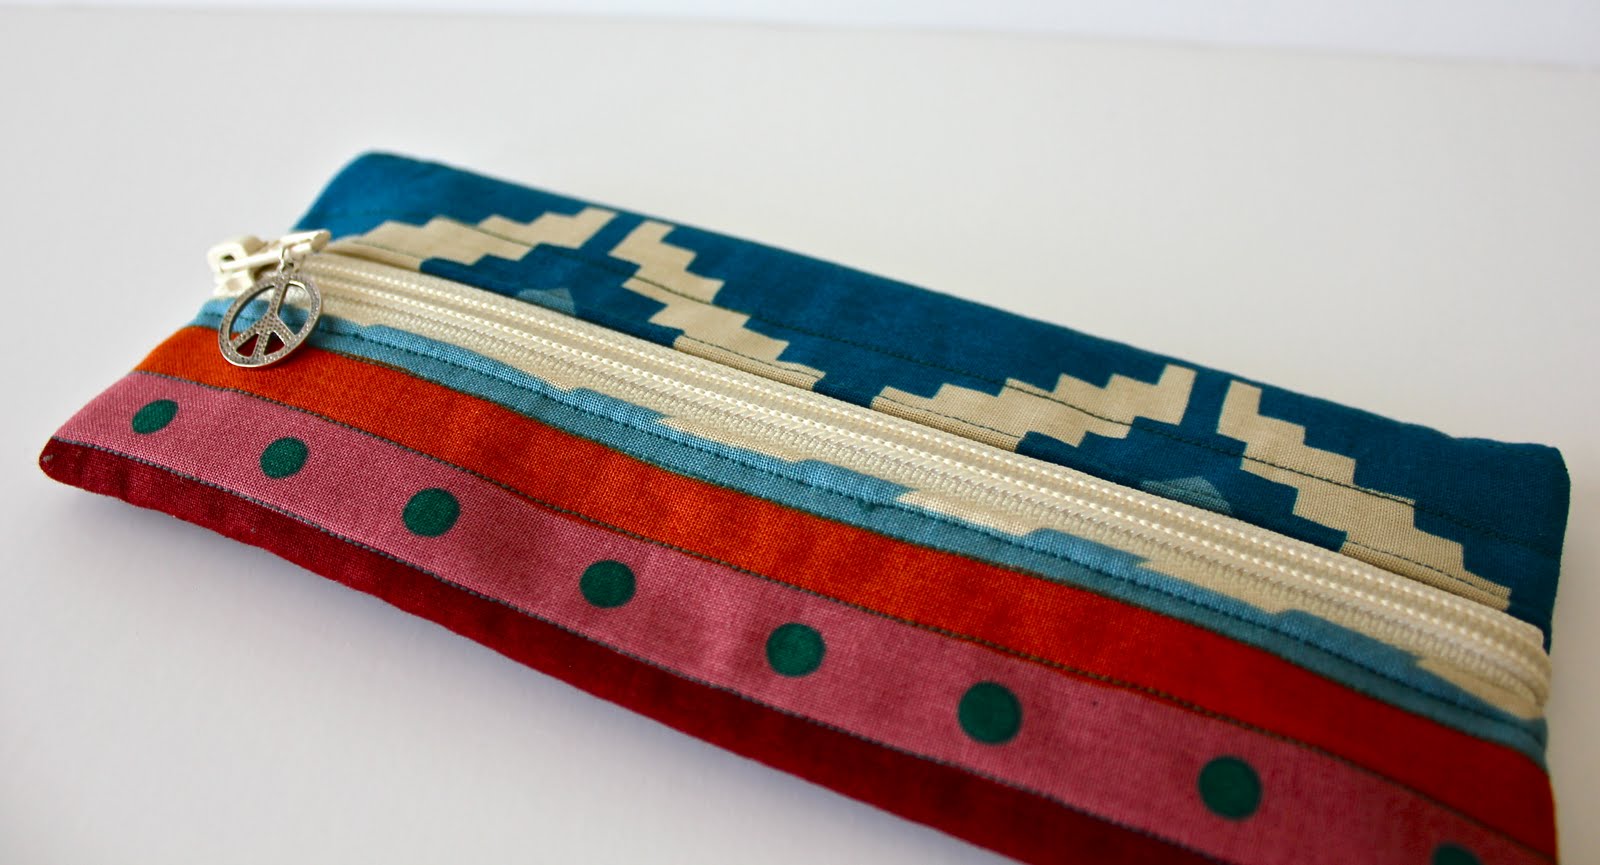
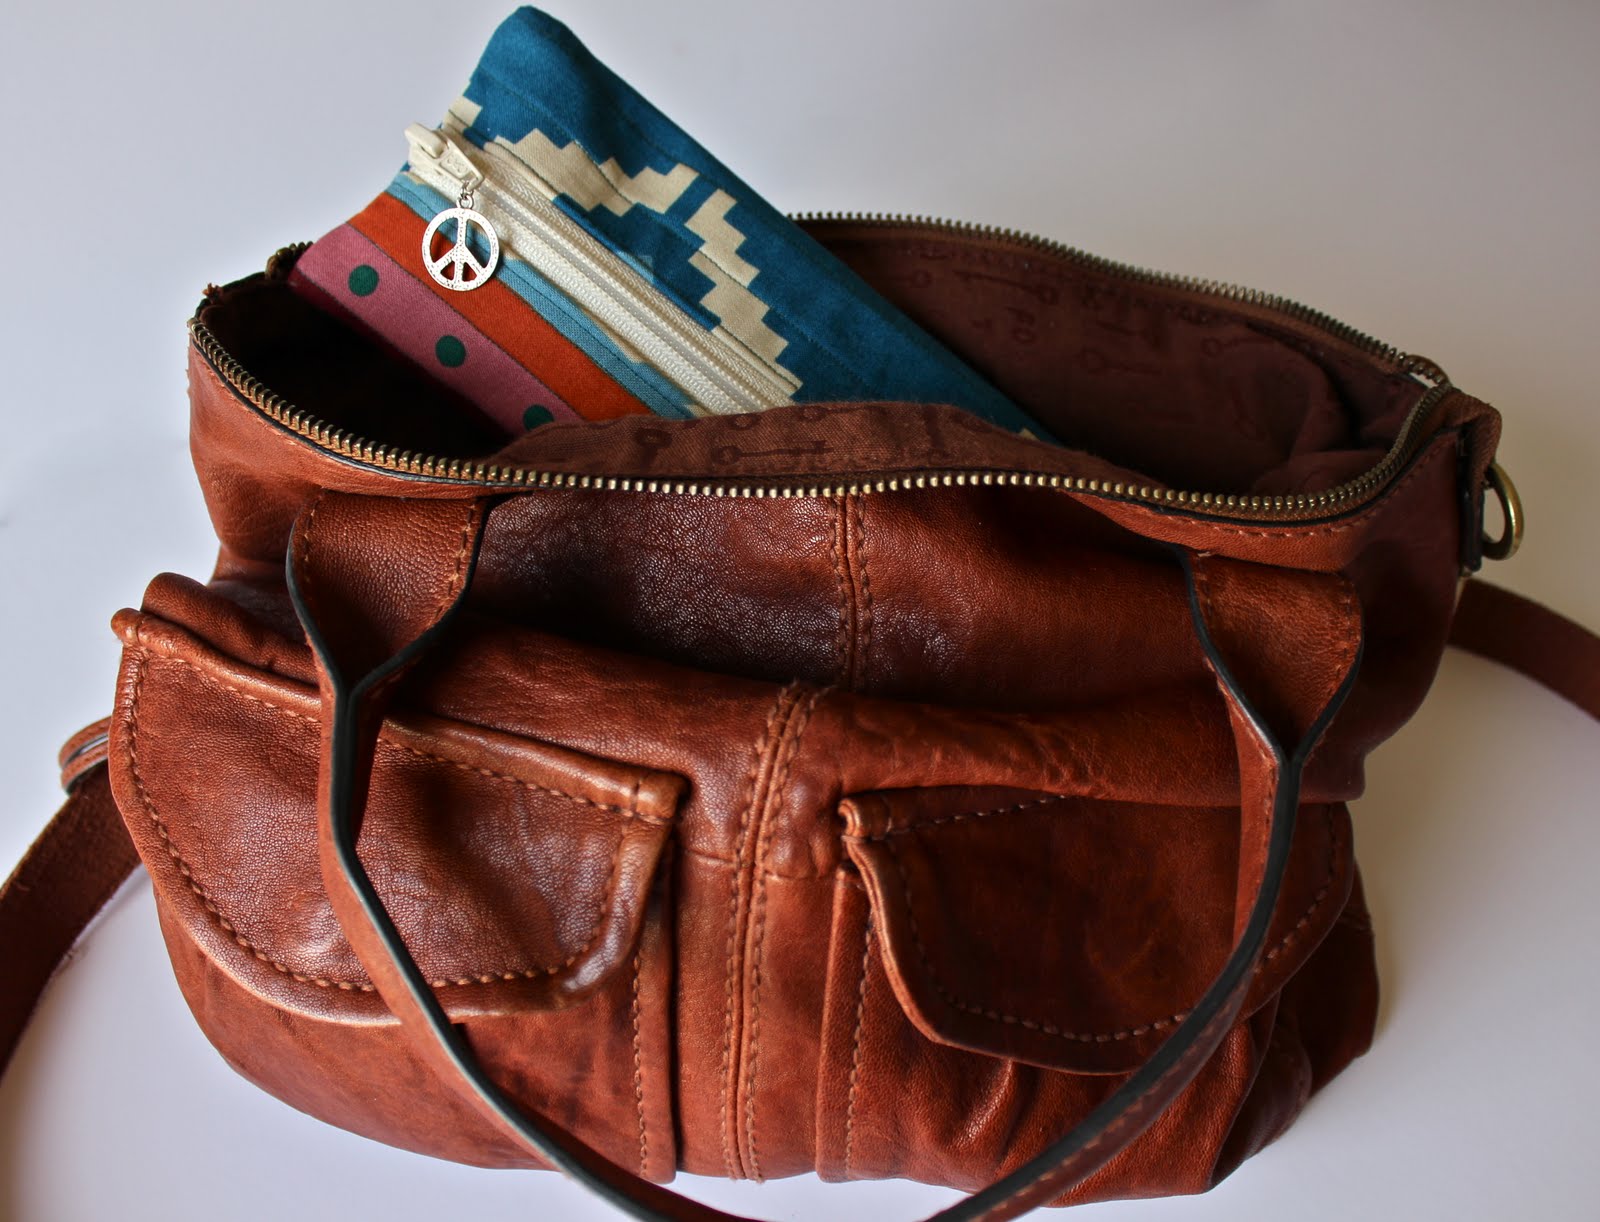
A spiffy little pencil pouch to give as a gift or just keep for yourself (;

Hope you enjoy!
Thanks so much for having me Aimee!
© 2011 – 2019, Aimee. All rights reserved. Love it? Please share, pin, tweet or email but do not use my work without permission.